Believability survey
To take part in the believability survey please click the link below
Thanks
http://www.kwiksurveys.com/online-survey.php?surveyID=KMOOHO_124cdc6e
Art Under The Bridge
I’m still thinking about what to put in the foreground. A ladder with some cans surrounding it where the artist was working until he or she decided to take the picture that you see? A cyclist going by on the cycle path. I need some traffic still. I’m not sure about the buildings on the right hand side, they don’t have the authenticity of the ones on the left. I am really happy with the way the scaffolding has turned out on the left.
Under the bridge
This is a test render for the bridge scene that I am currently working on. This image took 7hours (overnight) to render due to a high Depth of field sample setting and unfortunately the aperture is badly set. I wanted the background to be blurred but not the foreground where you should be able to see the roof where I am trying to capture the weight and strength of the concrete blocks.

[update] – It turns out that the displacement mapping on the ground material really slows down rendering. A flick of a global switch in vRay turns this off and returns things to normality. The displacement mapping on the floor was looking pretty good and I will finalise a good setting for this towards the end of the scene development. Below is the same scene without displacement mapping and DOF. (2 minute render!)

Road furniture next, development of background scenery, then a few cars from Turbosquid. I’ve just looked at an Alfa Romeo Brera on Turbosquid. It looked great, just what I need and free too. Then I saw 900,000 polygons! Been there, done that, got the t-shirt.
Final Street Scene
This is the final street scene with an appropriate level of DOF, masked AO and the odd touch up.
I am really happy with the results now.
🙂
Depth Of Field tests
V-Ray makes depth of field really easy if you use the render dialog with a standard target camera to measure the depth. You can alter the aperture to adjust the effect. Below are my small test renders I carried out today to find out what measurement would be suitable for the final render. These are interesting on their own, I really like the DOF effect. I’ve just found out about the Bokeh effect but which I’m excited about but that will have to wait for a while I think.
The file names indicate the Aperture size used in each case. eg: AP7_5 has an aperture of 7.5
Final touches to street scene
I have closed the ground floor curtains to reflect the fact that there is reduced privacy at this level. I’ve added graffiti which adds to the feel of the scene. Volume light has been used to add atmosphere at the windows. This really works and has significantly reduced the flat feeling that I was getting from the main brick wall. I’ve modified the galvanized materials. The balconies now have slight rusting and the main rails are significantly aged, possibly too much. I’ve reduced the bump level of the brick material. I’ve added moss to the main window texture and it looks far more aged now. I have also used an ambient occlusion pass to dirty up the scene and the results are pretty cool. I am really happy. The only thing I need to do is sort out the Depth of Field settings with the vRay Physical Camera. I’ve read up on it a few minutes ago and I have been mixing up Focal Length and Film Gate; resulting in slight DOF effect and long render times of a couple of hours, disappointing but I know what I need to do next to fix it.
Current street scene. This is the composite of the render and the ambient occlusion pass with a bit of Photoshop masking to reveal some details that the AO pass was hiding.
Nottingham Mutability Scene virtually finished
Only final touches and camera positioning needed. I have corrected the overlapping materials on the steps that can been seen in the plant pot balcony test render and the positioning of the CCTV sign has been altered too.
Online Survey
The questionnaire I have prepared is up and running, initially for a month from 11th Feb to 11th March 2010.
Questionnaire: http://www.kwiksurveys.com/online-survey.php?surveyID=CIKMJ_907c39d4
Results: http://www.KwikSurveys.com/results-overview.php?surveyID=CIKMJ_907c39d4&mode=4
I have posted in in the discussion forum on two LinkedIn groups that specifically deal with 3D Visualisation. Many of the people in these groups are either working in the field right now or are students who are interested in working in this area – both are appropriate candidates for this survey.
Nottingham Back Alley Montages
These images are montages created in PS from the images taken in Nottingham the other day. I am really happy with the way these have come out. Photoshops Photomerge feature does a great job of stitching images together and takes far less time than it would take to get the same results by hand. You could argue that the blending is a bit rough in places but its saved me hours of time.
Shadows on Flats
This morning I used a High Dynamic Range image to light a scene, it was just simple coloured primitives on a plane but it looked really nice. The HDR image was providing luminance information to the scene through Global Illumination.
After this I altered two of my old materials in PS using a simple Drop Shadow effect on a selection to create the effect that some of the bricks were further forward than others. I then painted a shadow line using the Luminosity blending mode on the material used here as the floor. I have observed this technique used in game engines where poly counts need to be kept low but without sacrificing effect. I think it works well. I can imagine using this technique to provide depth to building features that aren’t the main focus of the scene but still need shadows to give them believability in the scene such as drainpipe detail, shutters, fencing etc.
The Image above are the HDR image (7/Feb/2010, Paul Debevec Home Page, http://www.debevec.org) that I plan to use in my street scene and an example of the materials with shading (rather too quickly) applied to them. Rendered with VRay.
I have the Demo of VRay installed and I am going to use it throughout this last project. The quality of the output that it creates is high and this will aid believabilty in my scenes. With the techniques I have learnt and the promise of high quality output I am really excited.
Hyper-reality “The simulation of something which never really existed.”
I have been wanting to define Hyper-reality for a while now and having looked through the three books I have about Baudrillard I have come to this conclusion:
“Hyper-reality is the reality which is ‘more real that real’, fed to us by a range of media forms that we generally believe to be the truth. This hyper-reality is a simulacrum in the sense that it is a copy of reality which hides the fact that it itself is not real. i.e. It is pretending to be the real when infact it is not.”
Baudrillard seems to focus on the media when talking about hyperreality and this interests me because it provides a context for all the promotions and advertising that we are bombarded with on a daily basis. In terms of 3D architectural visualisation work I think this naturally falls into the category of Hyper-reality. The work displayed is created to represent entirely new projects or alterations of existing structures so that building planners, investors, local councils and the general public can see (or visualise) the intended building before a brick has been laid. So Architectural visualisations are realer than real and due to their “perfect” visual quality are simulacrums of the real buildings. The weathering and aging processes that the building becomes involved in once constructed in a real environment aren’t reflected in 3D architectural visualisations, also the actual use of the building in many cases changes its appearance from the original visualisations as visual cues of occupancy and habitation appear.
Horrocks.C. & Jevtic.Z., 1999, Introducing Baudrillard, Icon Books
Baudrillard.J., 1994, Simulacra and Simulation, The University Of Michigan Press
Proto.F., 2006, Mass Identity Architecture – Archtectural Writings Of Jean Baudrillard, Wiley-Academy
Hotel Balcony Composite
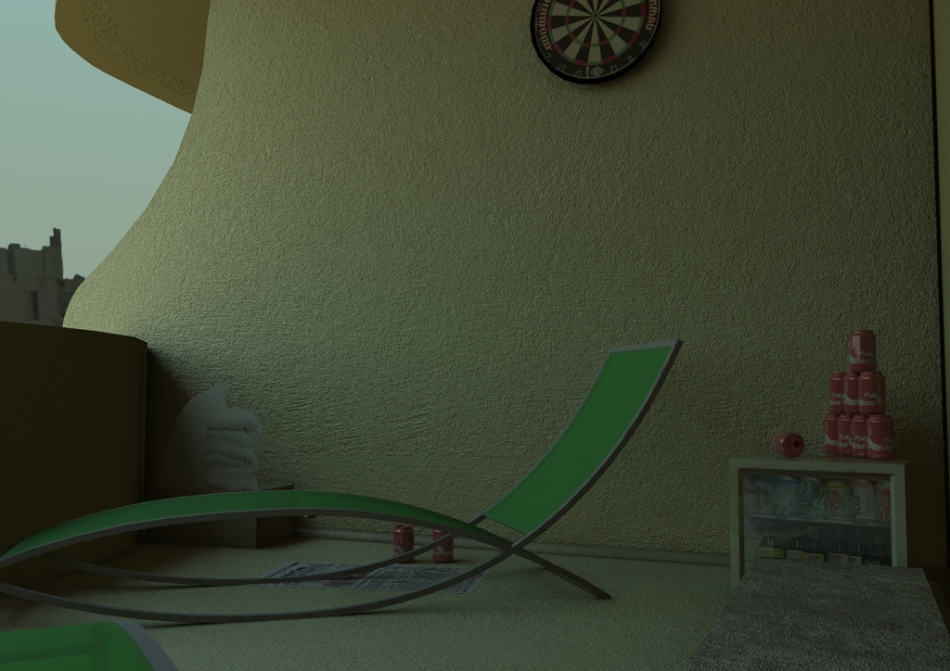
This render is a final render of this balcony. I have adjusted the camera height so that the focalisation of the scene is from an occupants point of view. This creates the feeling of presence in the viewer and a sense of implicit involvement in the scene. The items in the scene have been re-arranged so that they are used to better effect.
Renders for current project (updated)
I started using Layers to organise the main model, the second row of buildings and then the background flats and the occupation signifiers in the scene. It made it much easier to manage the scene and considering that I use layers in all the other apps I know I’m not sure why I didn’t think to look for them earlier. I think my attention got diverted by the way you can spin a model around in max. Layers fundamentally is the same but feels more like a way to hide things you don’t need right now in order to simplify what you’re looking at rather than the central core of object management like in Photoshop. I really need to get another monitor the layers palette is a pain in the rear. You need it fat more often than you think and its not just like the Materials and Render dialogs that you can open up as and when you need them because of the function they provide.
This render took two days to organise but now thats done the next ones are coming along far quicker (see further down the post.)
This last one ^^^^ has an Ambient Occlusion pass applied to it in Overlay mode, but the Fill level has been reduced in order to balance the result correctly.
Shot List
I’m a little behind on my schedule but I’m hoping to make up for it over the weekend. This evening I have planned the shots that I am going to render for the shanty scene. I have used the list of technical devices found on pg.116 (see below) of Narrative And Media (Fulton.H., 2005) as a basis for justifying the shots that I’m planning. Its been very useful because I feel like I can both understand and justify the reasons for my camera placement now. I’m finding “diegetics” confusing though, however I’m feeling convinced that its not as important for static images as it is for film.
Pop-up book city
I have loaded last nights renders & opacity maps onto planes and uses the Orientation Constraint to get the planes to follow the camera as it turns. This is really useful as the planes don’t actually move position, but rotate on the spot to face the camera as it moves.
These are the results from this evenings investigation into using this technique in my scene composition.
I have realised that using entire rows of buildings isn’t going to cut it, so I have rendered a set of individual buildings to use instead (see above gallery). I have found that while the Orientation Constraint is great, my opacity maps aren’t and need to hide everything but the building itself. I initially thought that I should leave the ground in view (not sure why, it just felt right) and leaving the buildings shadow in view seemed the right decision too.
Tonight’s work has shown me that the opacity sillhouette of the buildings cast good shadows – even from a plane. I have also learnt that having the ground in view on the background buildings just doesn’t work. I’m going to have to change that.
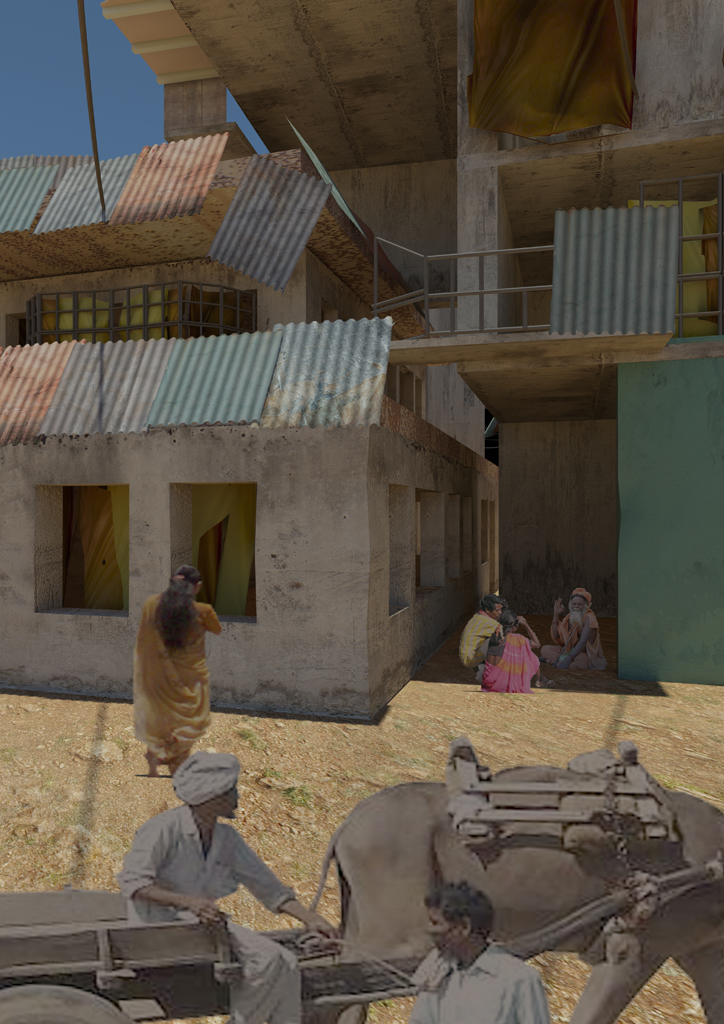
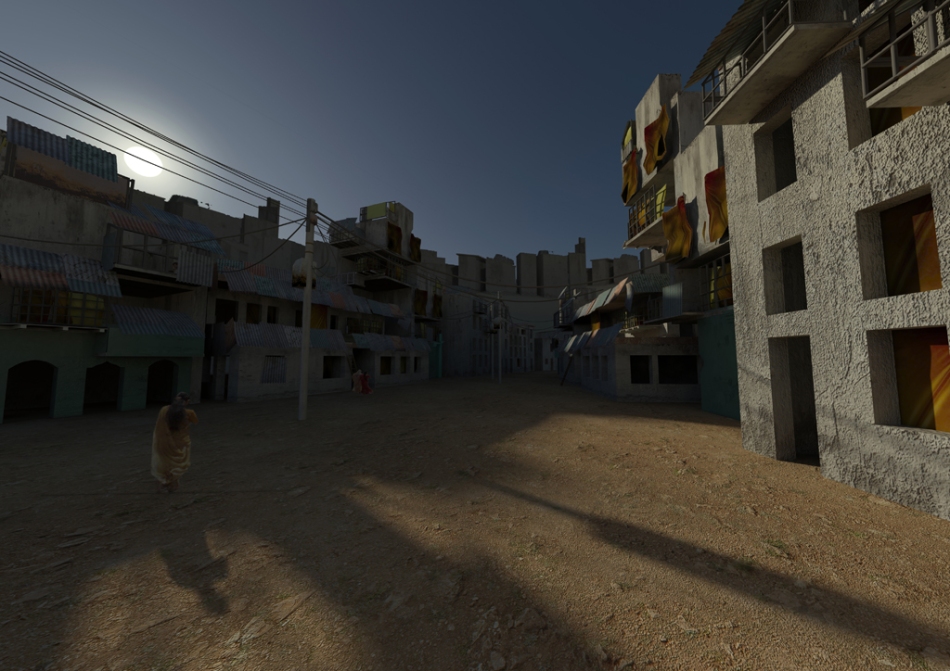
Shanty scene now ready for composition.
I have managed to get the corrugated roofing completed now and it looks just as good as the first high poly version. I have also created a set of backgrounds that I am going to mount on planes in the background to create the illusion of extra buildings without the polygon costs of actually putting them into the scene directly.
These are the backgrounds from tonights work. The last image is an example of the opacity map I am using with each of these so that I can show the scenes “real” sky and so I can cast reasonably realistic shadows:
Optimisation (aka: Poly gone!)
I have looked carefully around the scene and reduced the poly count of many of the items in the scene.
- Telegraph wire lofts (each): 2400 faces to 428 (this is still high but allows for a smooth curve in the wires).
- Scaffolding frame cylinders (each): 216 faces to 20.
- Corrugated paneling (each): 8784 faces to 8.
The scene has gone from over 900,000 faces to only 130,000 without the replacement paneling in place, but luckily this won’t take it back up to what it was.
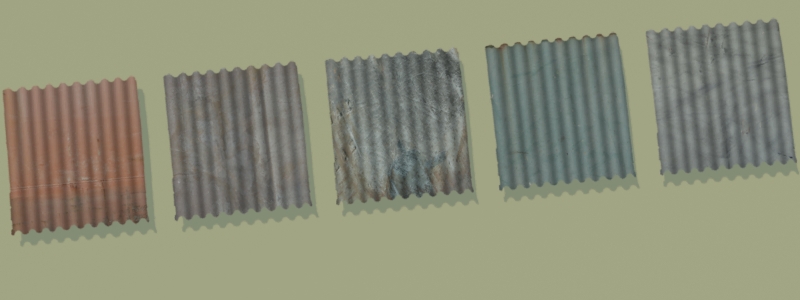
I think that these are great. Getting the materials to align was easier than I thought but getting the curves on the edges to look even half decent took a few hours of experimenting in Photoshop.
Replacement corrugated panels
I have tested two low poly methods of making corrugated panels. The two are reasonable in their appearance. I have chosen to use the single plane (left) as it looks more convincing than having a visable join of the other method (right). The only thing that I will have to remember with this is that the other side of this panel is transparent. This won’t be too much of a bother – wherever this issue arises I will clone a duplicate and spin it around 180degrees and use it as the reverse side.
Preparing scenes
The position of the camera in a scene can create opportunities to involve the viewer in the work or to seperate them from the work to reduce personal involvment in the scene and create a more objective viewpoint.
In all cases the positioning of the camera needs to be done with purpose and intent.
In Narrative & Media there is a list of signifiers that give meaning to the position of a camera in a scene. All of them make good sense when you consider examples from movies, TV and photographs you have taken or have looked at.
Four of my favourites are:
- Medium Shot: Involvement, Internal Focalisation.
- Long Shot: Distance, Context, External Focalisation.
- Close Up: Intimacy, Internal Focalisation.
- Big Close Up: Emotion, Internal Focalisation.
The Focalisation indicates whether you as the viewer are likely to feel that you are involved in the scene (internal) or not involved in the scene (external).
The book goes into further detail about Focalisation, but I am still reading up on that. This small amount of information is making a big difference on my choice of camera angles. I think I need more practice, but its interesting all the same.
Current renders:
The Room scene shows how the individual is protected from the outside world by the corners that surround them. The window becomes a vantage point from which to safely observe the surrounding world from the safety of your nest.
Currently…
I am rendering a balcony scene that shows signals of occupation. I’m going to run an Ambient Occlusion pass and overlay it in Photoshop. On top of this I’m going to add a photo background in the very small areas left that show the rest of the world. This will be one of the final renders will be shown at the presentation.
Occupational Signals : Models
These are the models that I will use to indicate occupation in the scenes. Some of these items I have created, some I have used (under a free licence for use) from the websites artist-3d.com and turbosquid.com. If I have used your model, please accept my gratitude. 🙂


